 how-to
How to Spot and Trace a Roof Leak Before It Spreads
Last Updated: November 2, 2026
Quick Summary
Professional roof leak detection starts with tracing the water back from the stains it leaves inside, since the visible damage can sit several metres from the actual breach. A technician surveys the interior and loft, inspects the roof surface, and runs a controlled water test where the source is still unclear. The result is a written report that names the entry point and the repair needed.
- Never climb onto the roof yourself; check the exterior from the ground using binoculars if you have them.
- Water can travel along rafters or underlay, so the stain may be well away from the real entry point.
- Watch for stains that grow after rain, damp smells, wet insulation and light showing through the roof space.
- Targeted hose testing wets one section at a time, showing exactly when water appears inside.
- Ask for a written report with photographs, useful for your own records and any insurance claim.
Table of Contents
- Roof Leak Detection: What Homeowners Can Check Safely
- Common Causes of Roof Leaks by Roof Type
- Roof Leak Warning Signs You Should Not Ignore
- How a Professional Roof Inspection Traces the Source
- Booking Emergency Roof Leak Repair and Your Next Step
- Frequently Asked Questions
This is a CJU Roofing Specialists article. For enquiries, visit cjuroofingspecialists.co.uk.
If your ceiling has started to stain, or you can hear water dripping in the loft after rain, you probably want to start with roof leak detection so you know where it is coming from before the damage spreads. A small leak that goes unnoticed for weeks can soak into insulation, timber and plasterwork.
Roof Leak Detection: What Homeowners Can Check Safely
Start with the simplest checks, and keep safety first. Never climb onto a roof, and never work near a damaged ceiling with a live electrical fitting nearby.
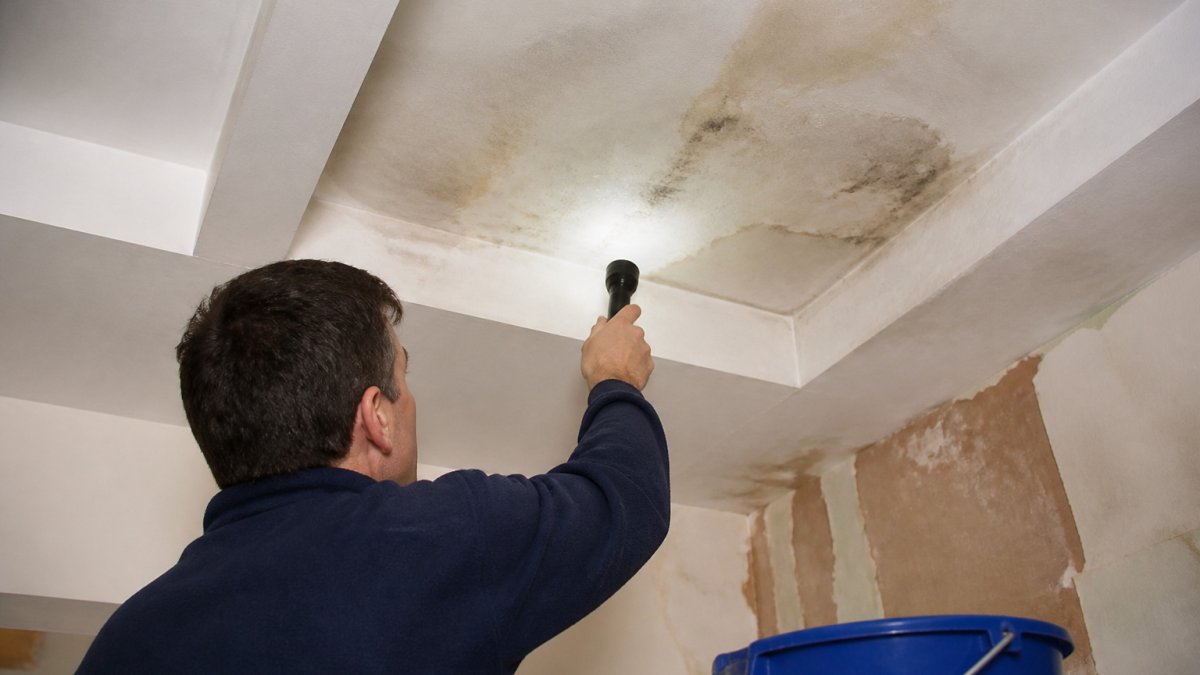
Indoors, check the top floor first. Look for water stains that look fresh or have a yellow or brown tide-mark pattern, damp patches on plaster, and bubbling paint.
Once you have a rough idea of where the water is getting in, avoid trying to fix it yourself with sealant on the roof surface.
Common Causes of Roof Leaks by Roof Type
The cause of a leak depends heavily on how your roof is built. Pitched roofs and flat roofs fail in different ways, so it helps to know which applies to your property before you start searching for the problem.
Pitched roofs: slipped tiles, valleys and flashings
On a pitched roof, water is meant to run off quickly. Most leaks start where that flow is interrupted. Slipped or cracked tiles let rain reach the underlay, and wind-driven rain can then work its way into the loft. Valleys, where two roof slopes meet, carry a large volume of water and are a frequent source of trouble if the lead or tile lining has lifted.
Flat roofs: membrane splits, seams and drainage points
Flat roofs rely on a waterproof membrane rather than a slope, so they need to be watertight across the whole surface. Splits or blisters in the membrane are a common entry point, particularly after freeze-thaw cycles. Seams where sheets of membrane join can open up, and standing water tends to gather at blocked or poorly positioned drainage outlets. If you notice ponding that lasts more than a day or two after rain, the drainage needs attention before the membrane fails.
Roof Leak Warning Signs You Should Not Ignore
Some signs mean a leak is already doing damage, and they should be dealt with promptly. Look out for:
- Water stains on ceilings or walls that grow after rain
- Damp or musty smells in the loft or top-floor rooms
- Wet or compressed insulation, or dark marks on loft timbers
Mould is another warning sign. It usually appears in damp, poorly ventilated areas and can affect health, so treat it as a signal to investigate the moisture source rather than simply cleaning the surface.
A leak can also be mistaken for condensation or a plumbing fault. Condensation tends to appear on cold surfaces such as windows and external corners and often clears when the room is heated and ventilated.
How a Professional Roof Inspection Traces the Source
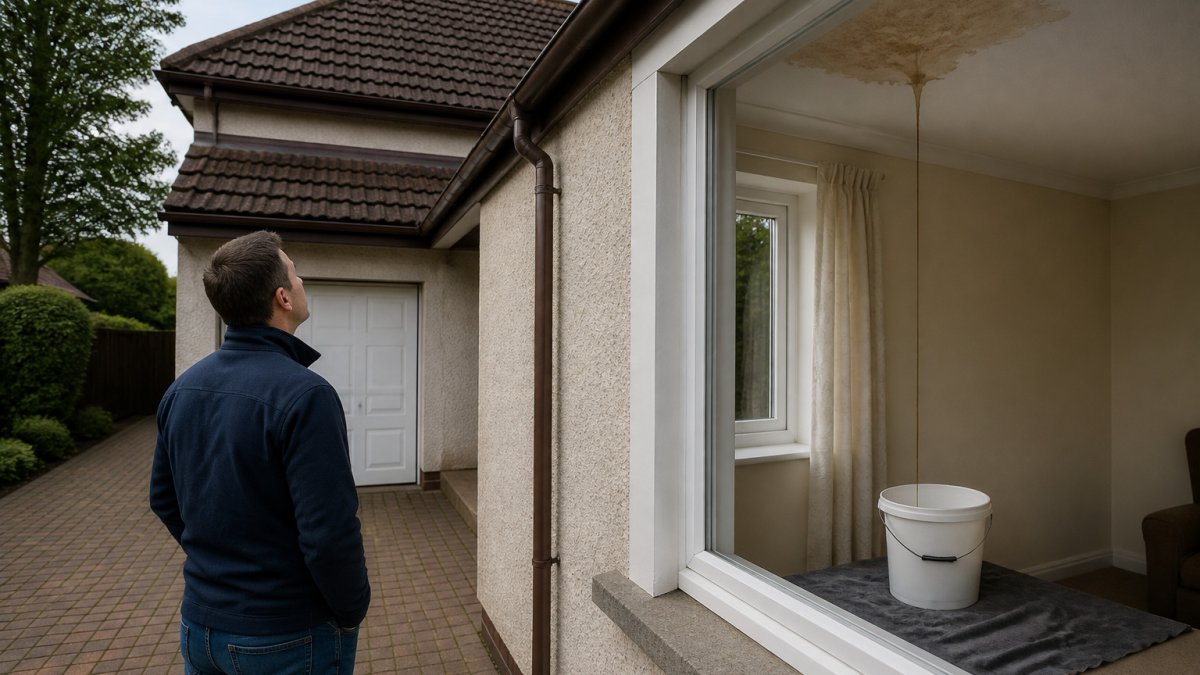
Finding the entry point is often harder than repairing it. Water can travel along rafters, underlay or cavity ties before it shows up on a ceiling, so the visible stain may be several metres from the actual breach. A professional inspection works backwards from the damage in a logical sequence, and the methods used depend on the roof type, the weather and how clear the evidence is.
The typical sequence of a professional leak investigation
A typical professional investigation follows a similar order, moving from the least invasive checks to the most targeted:
- Interior symptom survey. The technician starts inside, mapping every stain, damp patch and water track on the top floor and in the loft. They note the position relative to walls, roof slopes, chimneys and valleys, and check whether the pattern changes after rain.
- Loft and roof-space inspection. Timbers, insulation, sarking and underlay are checked for wetness, dark staining and water tracks. A moisture meter is often used here to confirm damp readings that are not yet visible to the eye.
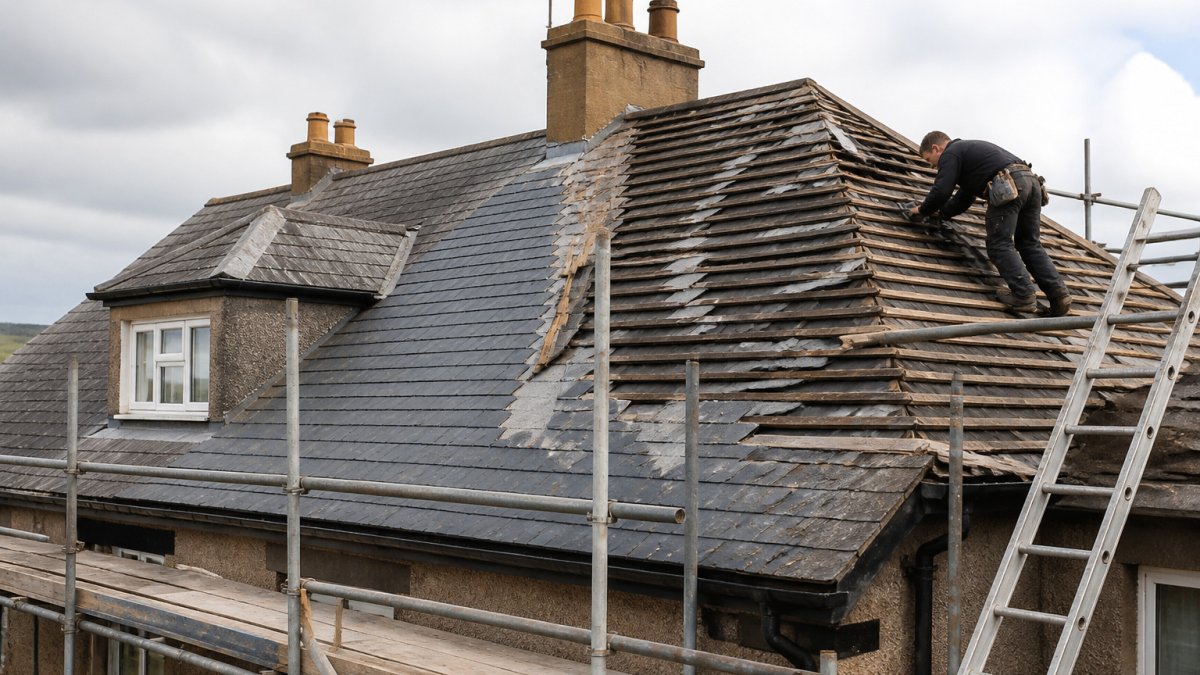
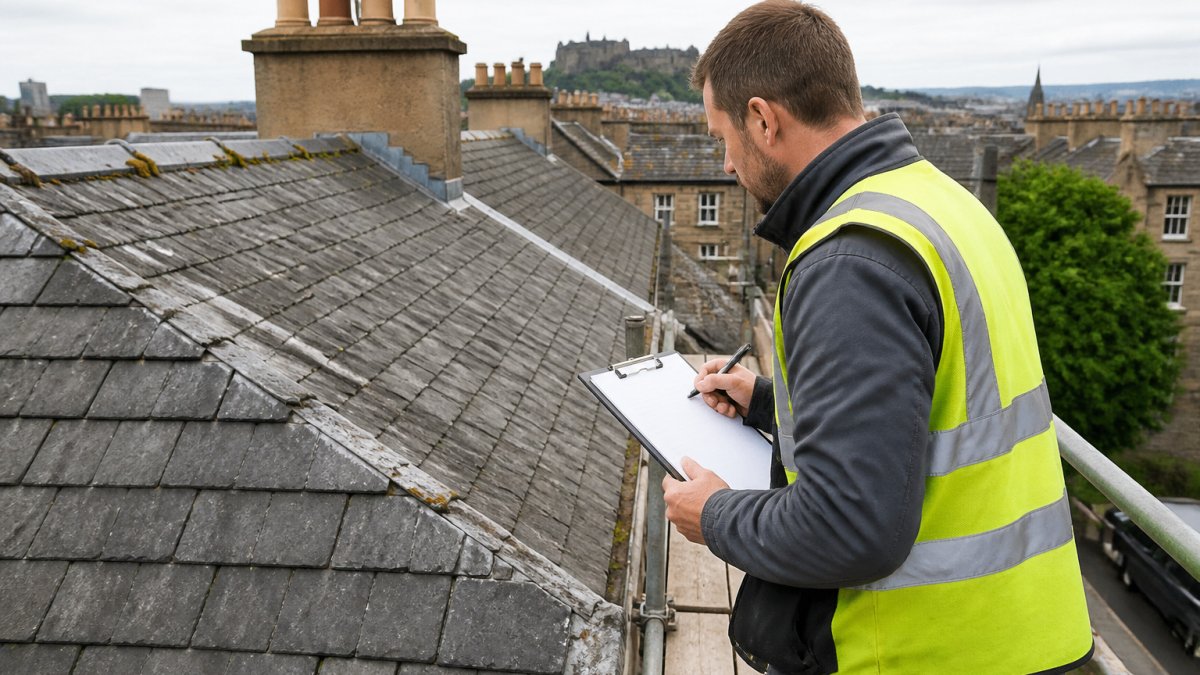
- Roof-level visual survey. The roof surface is checked from a safe vantage point or, where access is safe, on the roof itself. The technician looks at tiles, slates, ridge caps, valleys, flashings, chimneys, vents and rooflights, paying particular attention to the areas suggested by the interior evidence.
- Targeted testing. Where the source is still unclear, a controlled water test is carried out, wetting one section of the roof at a time while someone watches inside. This narrows the cause without soaking the whole roof or causing unnecessary damage.
- Confirmation and reporting. Once the entry point is confirmed, the technician records it with photographs and notes, then explains the repair options.
Diagnostic methods and when they are used
Not every leak needs every method. The right choice depends on the roof and the conditions:
- Visual inspection is the starting point for every job and is often enough where there is clear physical damage such as a slipped tile or a cracked flashing.
- Moisture readings using a handheld meter help confirm damp in timbers and plaster, and can show how far water has travelled from the entry point.
- Hose testing is used on accessible roofs where the source is uncertain. Sections are wetted in sequence so the technician can see exactly when water appears inside.
Watch out: a quick visual check from the ground is not the same as a proper investigation.
A good inspection ends with a written report describing what was found, where it is, how it was confirmed, and what repair is recommended. Ask for this report, because it is useful for your own records and for any insurance claim.
The article lays out the typical stages of a professional leak investigation, which can be summarised as follows.
| Stage | What the technician does | Purpose |
|---|---|---|
| Interior symptom survey | Maps stains, damp patches and water tracks | Identifies where water appears |
| Loft and roof-space inspection | Checks timbers, insulation and sarking for wetness | Confirms damp, including readings not yet visible |
| Roof-level visual survey | Inspects tiles, valleys, flashings, chimneys and vents | Finds visible breaches near the evidence |
| Targeted testing | Controlled water test, one section at a time | Narrows the cause without soaking the whole roof |
| Confirmation and reporting | Records the entry point with photos and notes | Explains repair options clearly |
Booking Emergency Roof Leak Repair and Your Next Step
If water is actively coming into the house, act quickly. Move furniture and valuables away from the affected area, place a bucket and towels to catch the water, and switch off any electrical fittings near the leak. Photograph the damage from several angles and keep a record of when it started, as this will help with any insurance claim.
What to expect after the leak is detected
Detection is only the first stage. A professional service should leave you with clear information and a plan, not just a temporary patch. A common pattern is:
- A written report with evidence. Photographs of the entry point, the affected timbers and the interior damage, plus a description of how the source was confirmed. This is the document your insurer will want to see if you are claiming.
- A clear repair scope. The report should explain what needs to be done, why, and whether any temporary measures are recommended to prevent further damage before the full repair.
- Repair options and trade-offs. Where more than one approach is possible, you should be told the difference in durability, disruption and likely lifespan so you can make an informed choice.
Safe homeowner checks before you call
While you wait for an inspection, there are useful things you can do without going near the roof:
- Note which rooms are affected and whether the stain grows only after rain, which points to a roof source rather than plumbing or condensation.
- Check the loft from a safe standing position with a torch, looking for wet insulation, dark timber or daylight showing through.
- Keep a simple log of dates, weather conditions and where water appears, as this helps the technician narrow the cause quickly.
Watch out: never use sealant or temporary patches on the roof surface yourself. These can trap water, hide the real entry point and make a later repair more involved.
When you are ready to get the leak traced and fixed, contact CJU Roofing Specialists to arrange an inspection. You can request a roof inspection or emergency repair through our website, and we will talk you through the next steps and provide a quote for the work.
Frequently Asked Questions
How can you tell where a roof leak is coming from?
Water often travels along rafters or down a pipe before it appears on a ceiling, so the stain is rarely directly below the source. Start by noting where the water appears during rain and whether it follows a line. Check the loft for wet timber, dark staining on the underside of the roof covering, and gaps around flashings, chimneys and valleys. Photographs taken during a leak help a roofer work out the path. A professional inspection will confirm the entry point rather than guessing from the stain alone.
What are the most common causes of roof leaks?
The most frequent causes include slipped or cracked tiles, failed flashings around chimneys and roof lights, deteriorated valley linings, and worn lead or sealant at joints. On flat roofs, split membranes, failing seams and blocked or damaged drainage outlets are typical. Storm damage can lift tiles or displace flashings even when a roof looked sound beforehand. Identifying the specific cause early usually means a smaller, cheaper repair.
Should you call a roofer about a leak straight away?
Yes, particularly if water is entering a ceiling, electrics are nearby, or the roof has recently been hit by a storm. Temporary measures such as moving items, placing containers and taking photographs can limit damage while you wait. A qualified roofer can carry out a survey, trace the source and provide a written report, which is useful evidence for an insurance claim. Request a quote from CJU Roofing Specialists for an assessment of your specific roof.