 how-to
Roof Insurance Claim Evidence: What to Collect and Why
Quick Summary
Roof insurance claim evidence is the set of photos, video, written accounts, inspection reports and repair estimates that show what is damaged, what caused it, and when it happened. Photograph the damage before any temporary repair, with a scale reference, and keep original files unedited. A professional inspection report and matching repair estimates add weight to the claim.
- Insurers typically want photos and video, a written event description, an inspection report and repair estimates.
- Use a wide shot first, then mid-range and close-up shots with a scale reference such as a tape measure.
- Keep original photo files unedited, with consistent names and a second backup on the same day.
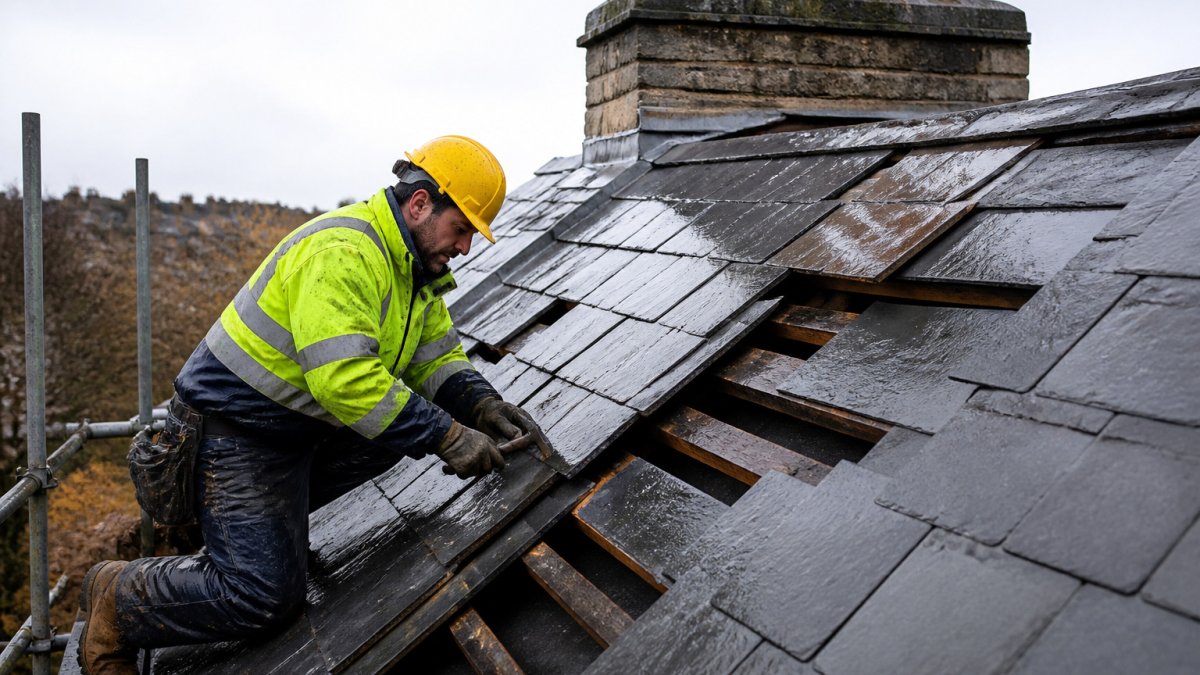
- Never climb onto a damaged roof to take photos; photograph from ground level or use a pole-mounted camera.
- Photograph damage before any temporary repair, and keep removed materials where safe and practical.
Table of Contents
- Understanding What Your Insurer Needs to See
- Documenting Roof Damage Photos and Video for Insurance Claim Purposes
- Commissioning a Roof Inspection Report for Your Claim
- Building Your Roof Insurance Claim Evidence Checklist
- Booking Your Inspection and Next Steps With CJU Roofing Specialists
- Frequently Asked Questions
Understanding What Your Insurer Needs to See
Your insurer needs to answer three questions: what is damaged, what caused it, and when. Every piece of evidence should help answer one of them.
A claim is usually decided on the documents, not on how serious the damage looks in person.
Your insurer will typically want:
- Photos and video showing the damage
- A written description of the event and its date
- A professional inspection report
Check your policy wording too: it sets out what is covered and what documents the insurer expects. If unsure, ask your insurer to list the evidence they need in writing.
Documenting Roof Damage Photos and Video for Insurance Claim Purposes
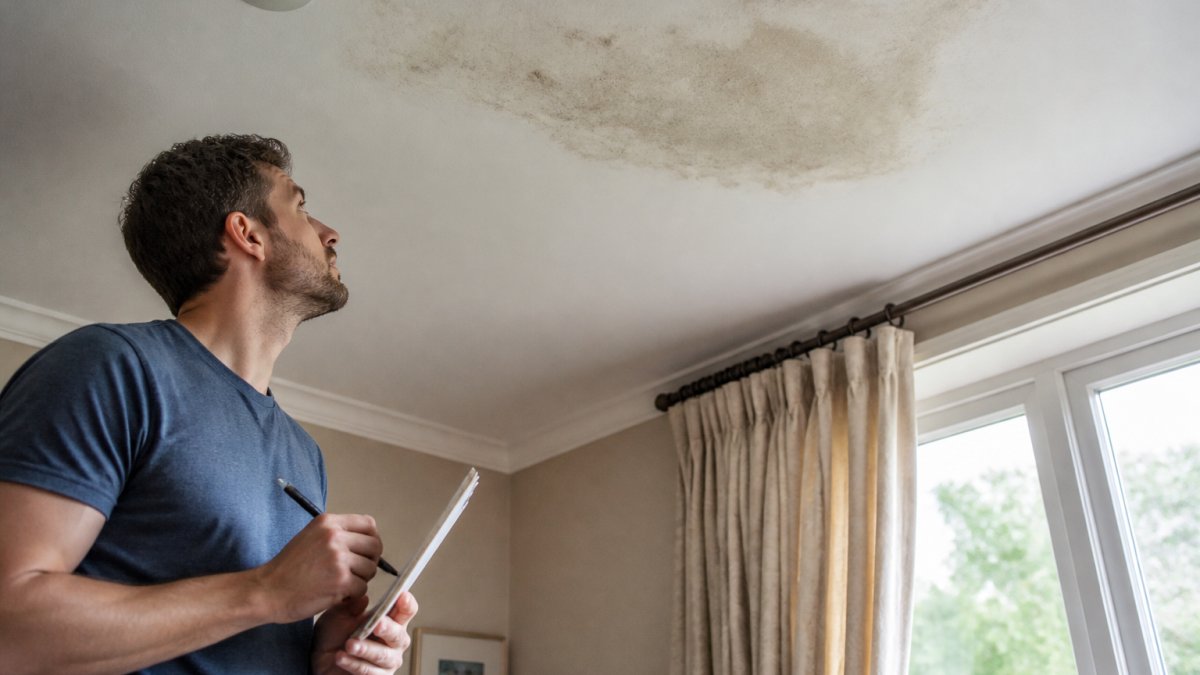
Photos and video are the roof insurance claim evidence an insurer will scrutinise most closely, and quality often matters more than the severity of the damage. Our guide to how to spot signs of hidden roof leaks shows what else to look for and record. Take them as soon as it is safe, before any temporary repair changes the scene.
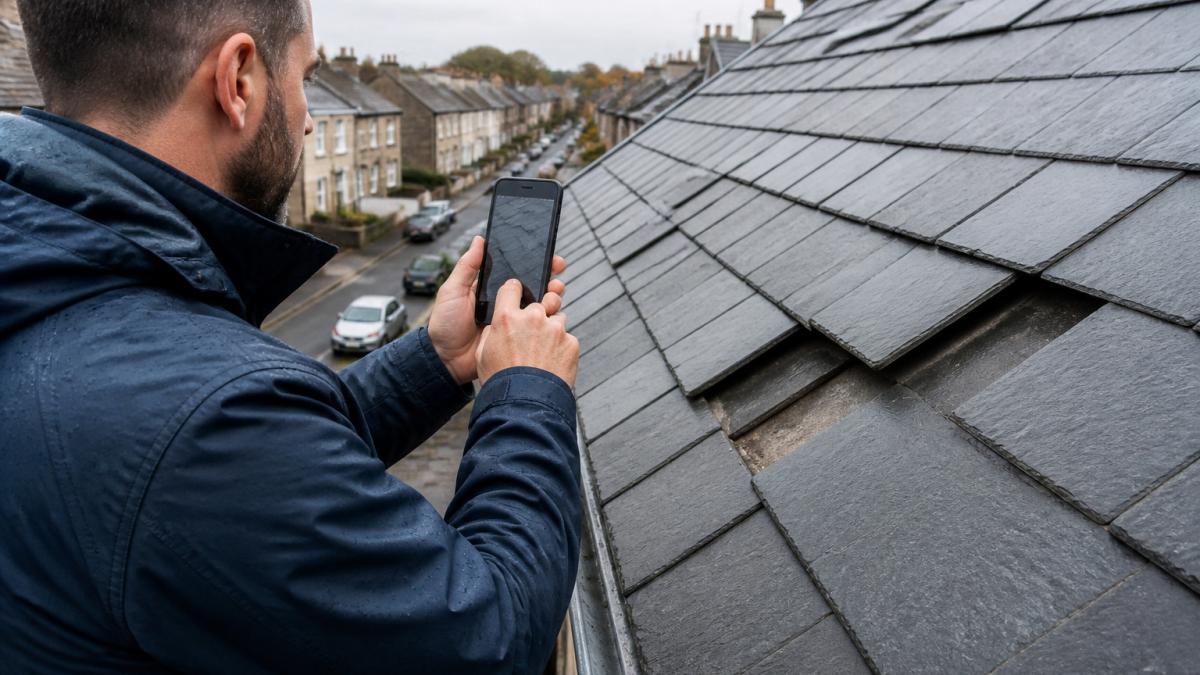
A practical standard for each shot
A useful photo answers three questions at once: what is damaged, where it sits, and how large it is.
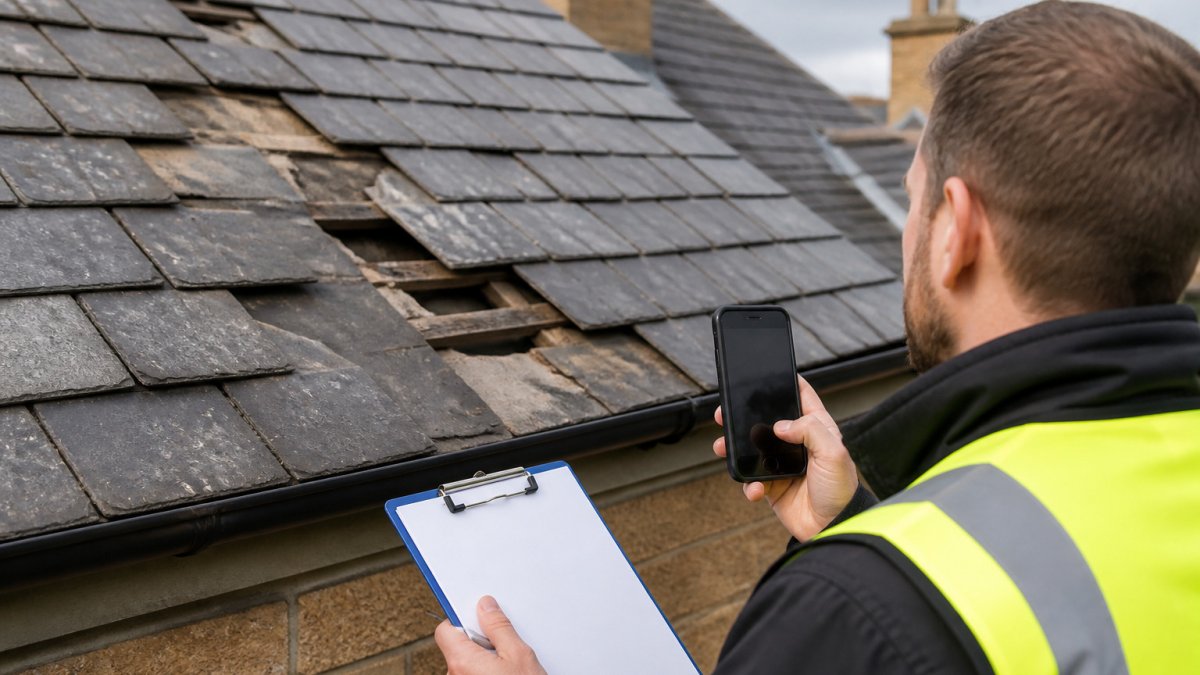
- Wide establishing shot first. Stand back and capture the whole roof elevation or the affected slope so the viewer can orient themselves. Include the gutter line and any adjoining structure for context.
- Mid-range shot of the affected area. Move in so the damaged section fills roughly a third of the frame, still showing enough surrounding roof to locate it.
- Close-up with a scale reference. Place a tape measure, a coin or a ruler alongside the damage so its dimensions are unambiguous. Without a scale, an insurer cannot judge whether a split is 20 mm or 200 mm.
Video that an adjuster can actually use
A short, steady walk-through is often more persuasive than dozens of stills. Narrate as you film: state the date, address, roof elevation and what you are seeing. Pan slowly, hold each damaged area for several seconds, and finish with a wide shot. Avoid fast pans, zooming while walking, and noise that drowns out your commentary.
Metadata, timestamps and file handling
Original files carry metadata, capture time, device, often location, that insurers treat as more reliable than edited copies. Keep the originals untouched.
- Do not crop, filter, annotate or compress the originals. If you need to annotate, work on a copy and keep the original alongside it.
- Check that your phone's date and time are correct before you start; a wrong timestamp undermines an otherwise strong set.
- Name files consistently, for example
2025-03-14_front-elevation_wide.jpgand2025-03-14_front-elevation_closeup-01.jpg, so the sequence is obvious without opening each one.
Safety and access
Never climb onto a damaged roof to take photos (Roof work). Use a zoom lens from ground level, binoculars, or a pole-mounted camera where safe. For areas you cannot see safely, a professional inspection is the correct route, its report will carry more weight than a risky selfie on a broken slope.
Preserving evidence and chain of custody
Insurers sometimes dispute when or how evidence was collected. A simple chain-of-custody habit protects you:
- Keep original files in a dated folder, unedited.
- Keep copies of everything you send to the insurer, with the date and method of submission.
- Retain any removed materials, broken tiles, flashing offcuts, failed sealant, labelled with the date and location, if it is safe and practical to do so.
This record lets you answer confidently if the insurer later questions the timing or origin of the damage.
Commissioning a Roof Inspection Report for Your Claim
A written inspection report can provide an account of what failed and why. Read why a professional roof inspection is worth getting to see what a qualified inspector can establish that a visual check cannot.
A useful report should include:
- A description of each damaged area, with its location on the roof
- Photos tied to each finding
- The likely cause, such as wind lift, impact or deterioration
Ask the inspector to say whether the damage looks recent or long-standing. Insurers often separate storm damage from age-related wear.
Repair estimates work alongside the report. Get written estimates matching the inspection scope, and compare line items so nothing important is missing.
The table below summarises what a useful inspection report should contain, so you can check a draft against it before you submit.
| Report element | What it shows | Why it matters |
|---|---|---|
| Damaged areas | Each area and its roof location | Ties findings to specific spots |
| Photos | One set per finding | Supports each claimed defect |
| Likely cause | Wind lift, impact or deterioration | Helps separate storm damage from wear |
| Recommended repairs | Outline of repair scope | Matches the estimates you collect |
| Inspector details | Name, qualifications, contact | Lets the insurer verify the report |
| Recent or long-standing | Inspector's view on age of damage | Insurers often weigh this heavily |
Building Your Roof Insurance Claim Evidence Checklist
Most guides give you a list of documents. What decides a claim is whether the right evidence is ready at the right stage, and whether you can show how it was gathered. Use this checklist as a working process and keep everything in a single folder sorted by stage so you can answer the insurer quickly.
Stage 1, Before you file
- Photos and video of the damage, captured to the standard described above, with originals retained
- A dated note of when the damage was first seen and what the weather was doing at the time
- Weather records for the period, Met Office observations, local station data or a dated news report
Stage 2, When you file
- Your written account of what happened, in date order
- The professional inspection report, with photos tied to each finding
- One or more written repair estimates matching the scope in the report
Stage 3, Preparing for the adjuster inspection
- A list of every area you want the adjuster to see, in the order they should see it
- Safe access arranged to the roof, loft and affected rooms
- Copies of everything already sent, kept in order and to hand
Stage 4, If the claim is disputed or denied
A denial is not the end of the process, but it requires a different kind of evidence. Work through this in order:
- Request the reason in writing. Ask the insurer to set out exactly which part of the claim was declined and on what basis, for example, causation, age-related wear, or insufficient evidence.
- Request the adjuster's full report. You are entitled to understand what was recorded during the inspection.
- Ask your inspector to respond point by point. A roofer's written response to the insurer's specific reasons is usually more persuasive than a general complaint.
- Supplement the evidence. Additional close-up photos, a second opinion, or weather data for the exact date can close the gap the insurer identified.
- Use the insurer's formal complaints process if the dispute is about how the claim was handled, and keep a dated record of every communication.
Distinguishing storm damage from wear and age
Many disputes turn on causation rather than the existence of damage. Insurers commonly separate storm damage, wind lift, impact, hail bruising, from deterioration such as worn mortar, perished flashing or moss growth. Evidence of causation includes:
- Weather records for the date in question, showing wind speed or hail
- Photos of fresh, sharp-edged damage alongside older, weathered areas
- Debris patterns, such as displaced tiles or granules in the gutter
This is not about arguing every roof issue is covered, but about giving the insurer a clear, honest basis to judge what happened and when.
Check your policy and deadlines
Policy wording varies, and the documents an insurer expects are set out in the terms. Check what your policy says about evidence, time limits for reporting and any requirement to mitigate further damage. If anything is unclear, ask the insurer to confirm the evidence they need in writing before you submit, easier to gather once than to chase after a decision.
Booking Your Inspection and Next Steps With CJU Roofing Specialists
If you are preparing a claim, an inspection can help you understand the condition of your roof. CJU Roofing Specialists provides roof renewal, repair and inspection services across Edinburgh, East Lothian and Midlothian. Contact CJU Roofing Specialists to request a quote for your property.
Frequently Asked Questions
What evidence do I need for a roof insurance claim?
Evidence for a claim can include dated photographs and video of the damage, an inspection report, a repair estimate, and a record of the date and circumstances of the damage, such as a storm or high winds. Keep the original documents and any weather information that supports when the event happened. Ask your insurer which documents they need.
Should I get a roof inspection before contacting my insurer?
A professional inspection can help identify roof damage. Ask the inspector what the report will cover. Your insurer can advise what information it needs to assess your claim.
What should I do if my roof insurance claim is denied or disputed?
Ask the insurer for the specific reason in writing, then compare it against your evidence. If the dispute concerns cause, ask your inspector what information their report can provide. Keep copies of correspondence and check the insurer's complaints procedure if the matter remains unresolved.
How do I organise evidence for a roof insurance claim?
Organise your evidence by claim stage: what you recorded when the damage happened, what the inspection found, what the repair estimate covers, and what has been submitted to the insurer. Keep dated digital copies in one folder, label each photo with its location on the roof, and store original reports and invoices safely. A simple index listing each document and its date makes it easy for the adjuster and for you to follow the claim.